Step  :
Adding a form
In this step we add a simple problem
report form to the bottom of the page.
- Add these lines after the line
containing the <!-- APPLET --> comment.
<br>
<br>
<h2 id=problem> Report a Problem </h2>
<FORM id=fmReport method="get" action="report.html"
>
Name: <input type="text" name=txtName ><br><br>
Employee id: <input type="text" name=txtID ><br><br>
<input type="hidden" name="txtOS" >
Description of the problem:<br>
<textarea name=txaDesc rows=4 cols=40></TEXTAREA><BR><BR>
<input type="submit" name="btnSubmit" value="Submit
report">
<input type="reset" name=btnReset>
</FORM>
<br>
<br>
<a href="#topholder">Back to Top</a>
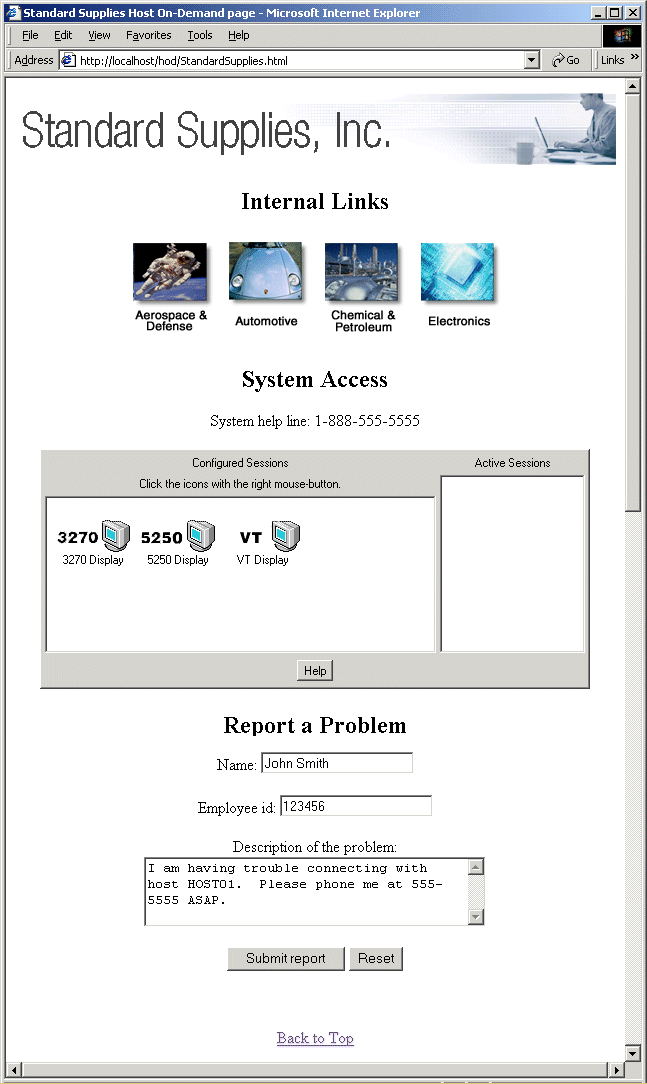
At the top of this section we have added a caption, "Report a Problem".
At the bottom of this section we have added a hyperlink back to the top of
the page.
The FORM element contains four input fields and two buttons:
- A text input field for the Name of the person submitting the problem.
- A text input field for the Employee ID of the person submitting the
problem.
- A hidden field to contain the client operating system.
Note: We will fill in this field using JavaScript in Step 15.
- A scrollable textarea field for a Description of the Problem.
- A submit button.
- A reset button.
In the FORM element we have
specified method="get" so that
the contents of the form's input fields will be appended as name/value pairs
to the end of the URL when the submit button is pressed.We
have specified action="report.html".
The file report.html is a file on the server which contains JavaScript code
to process the values.
We chose the "get" method here as simpler to implement in real-life code for
this tutorial. In designing your own page, you should follow the recommendation
of the World Wide Web Committe (W3C) by using method="post"
and setting action= to the
name of a processing script file, such as a PERL file, residing on the server.
For the illustrative purposes of this tutorial, report.html, instead of processing
the data, merely displays it.
View the JavaScript in report.html.
View the modified custom HTML template file.
- Save and close the custom HTML
template file.
- Regenerate the Deployment Wizard
output files.
The resulting web page is shown below.
When the submit button is pressed the browser jumps to report.html.
View the page generated by report.html.

![]()
