![]()
In this step we add a JavaScript function
to do some processing on the form before it is submitted. This JavaScript function
reads from the system a string identifying the platform ("Win32") and writes it
into a hidden field of the form.
<input type="submit"
name="btnSubmit" onfocus=setValues() value="Submit report">
This change will cause the new JavaScript function setValues() to be called
when the submit button receives the input focus.
<SCRIPT LANGUAGE="JavaScript">
function setValues()
{
var ael = fmReport.elements ;
var os = ael[ 2 ] ;
os.value = navigator.platform ;
}
</SCRIPT>
Function setValues() contains 3 lines. Let us look at it line by line.
fmReport is the name that we have assigned to the form.
fmReport.elements returns an array of objects corresponding to the input
elements in fmReport. We store this array into the variable ael.
There are 6 input objects in ael:
-- txtName is the object for the Name input field.
-- txtID is the object for the Employee ID field.
-- txtOS is the hidden field.
-- txtaDesc is the problem description.
-- btnSubmit is the submit button.
-- btnReset is the reset button.
In this line we take the third object, which corresponds to the hidden
field named txtOS, and store the object into the variable os.
navigator.platform returns the platform information as a string. Here
the string would be "Win32". We store this string into os.value. This
is like writing the string "Win32" into the hidden field txtOS.
View the modified custom HTML template file.
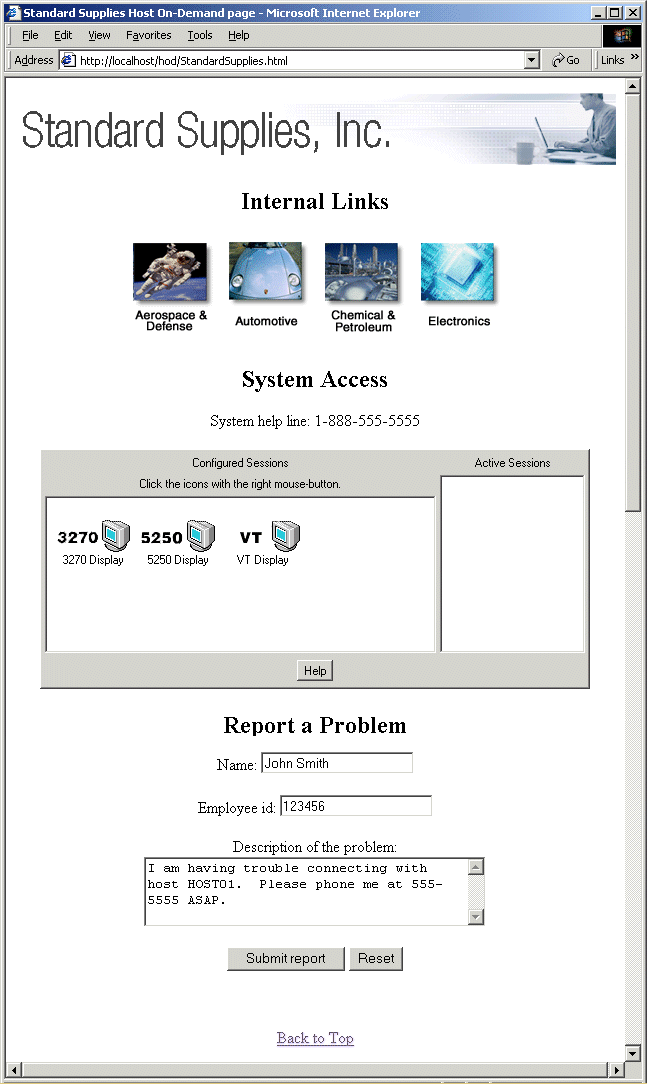
The resulting web page is shown below. The page looks the same as it did in Step 14, because we have not added any new visible content. However, when the submit button receives input focus, the JavaScript function setValues() reads the platform information string ("Win32") and writes it into the hidden field. When the submit button is clicked, the contents of the hidden field are submitted along with the contents of the other input fields.
The contents of report.html are the same as in Step 14.
View the page generated by report.html. Notice that the string "Win32" is now displayed for the Platform Information.
