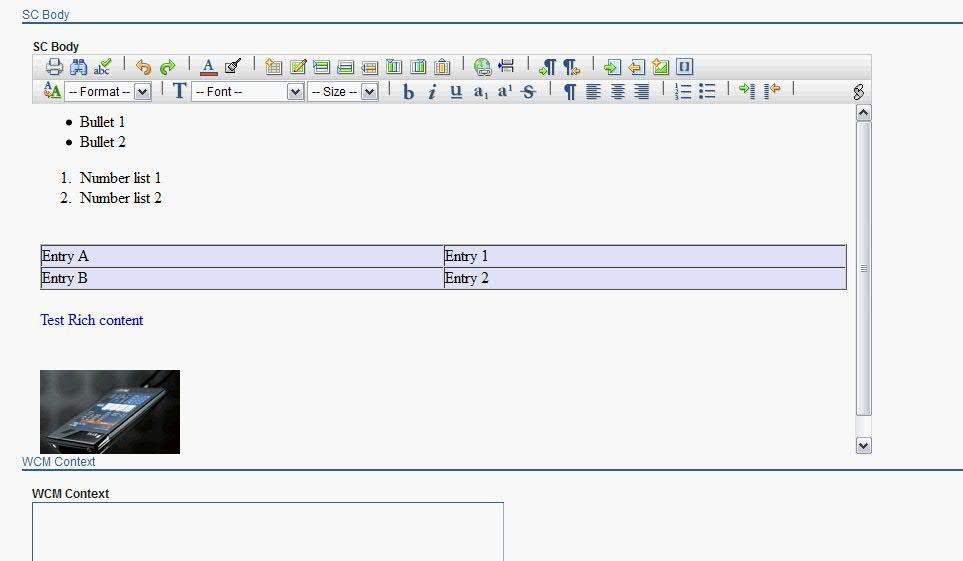
When the MCE conversion portlet is used, the content in the rich text element is transformed and an equivalent XDIME is generated and stored in the Content created.
Before you begin
Procedure
- Copy the jtidy-r938.jar from the WCMMobileContentConversion portlet installed location in the wp_profile_root/installedApps/cell_name/PA_WCMMCentConversion.ear/WCMMCntConversion.war/WEB-INF/lib directory to the wp_root/shared/app directory.
- Copy the XDIME transformation style sheet XHTML2XDIME_xdime1.XSLT or XHTML2XDIME_xdime2.XSLT in
a directory on the portal server where it can be accessed by the Mobile
Content Conversion portlet application and the Mobile Content Conversion
custom workflow action. Rename the XSLT XHTML2XDIME.XSLT.
For example, you can add the XHTML2XDIME.XSLT file to the /XSLT-File directory on the WebSphere® Portal server. You can use the wp_profile_root/installedApps/cell_name/MPATheme.ear/MPATheme.war directory.
- Edit the existing authoring template. For each rich text element in the content, use the Element Manager to create a duplicate HTML element. Rename the duplicate and add the suffix _m. For example, for the element Body create an associated HTML element called Body_m.
- Using Web Content Management create a content item with
the name equals to “Mobile Content Conversion Tool Configuration”,
and this content item can be placed in any site area in a WCM library
that contains content to be transformed. This content must contain
the elements as specified in the following table.
Table 1. Mobile content conversion tool configuration. This table describes the Element Name Element Type Description Last Conversion Date Date/Time This date will be used by the mobile content conversion portlet application to retrieve and transform the content items in a Web Content Manager library. The content items that have been modified after this date will be retrieved for the conversion process. The last conversion date can be adjusted to manage which content items will be processed. XSLT Directory Text The directory where the XSLT file is located. For example, /XSLT-File. WCM Context Text The Web Content Manager context. For example, /wps/wcm. Content Element Suffix Text The content element suffix. For example, _m. - Add the Web Content Manager content
with rich text that must be transformed to the XDIME.

- Save and approve the content for publishing.
- In the Web Content Manager mobile content conversion utility, select the Web Content Manager library. Submit it for conversion
- Verify the transformed content under Body_m element of the converted content in XDIME. The following image shows the XDIME code generated my MCE after transformation to XDIME.
- Create a portal page with XDIME markup enabled and add local rendering portlet.
- Click Edit Shared Settings on the WCM_Page and select the content and presentation template.
- Find your portlet from a simulator and verify the rich text contents are displayed properly.