Exercise 2.2: Viewing or changing your organization settings

You will learn how to view and edit the following settings in this exercise: Organization name, Organization Contact E-mail, and Organization Mailing Address.

Overview

The settings for your organization are listed on the Organization Account Settings page, which contains the following settings:
  • Organization name: Your organization's name, which appears throughout the SmartCloud for Social Business Website, such as the upper left corner of the page
  • Organization Contact E-mail: The e-mail address associated with the Organization Administrator account. If users click the Contact Account Administrator link that appears on some of the end user configuration screens, a new e-mail to this address will be created using the user's default mail application.
  • Organization Mailing Address: The mailing address associated with your SmartCloud for Social Business account. This mailing address will be used for any updates or account notifications that are sent through the mail.
  • Customer ID: Your SmartCloud for Social Business customer ID (this value cannot be changed)

You can view or edit these settings, except for the Customer ID, from the Organization Account Settings page.

Objectives

After completing this exercise, you should be able to:

Procedure

Step
Action
1
Log in and navigate to the Administration panel. For detailed steps, see the procedure document: Accessing the Administration Panel.
2
You should be taken to the Settings page. If not, click the Organization Account Settings link.
Click the Company Account Settings link.
3
Examine the Settings page. Note that this page contains the following settings: Organization Name, Organization Contact Email, Organization Mailing Address, and Customer ID. All of these settings, except for the Customer ID, can be changed by an administrator.
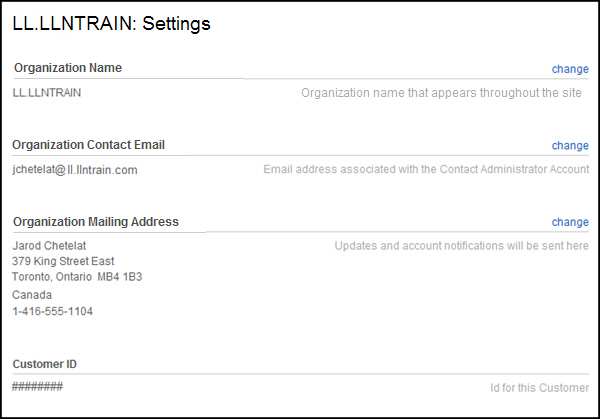
The settings page displays your company's name, contact email, mailing address, and customer ID.
4
Click the change link next to a particular setting to change its value.
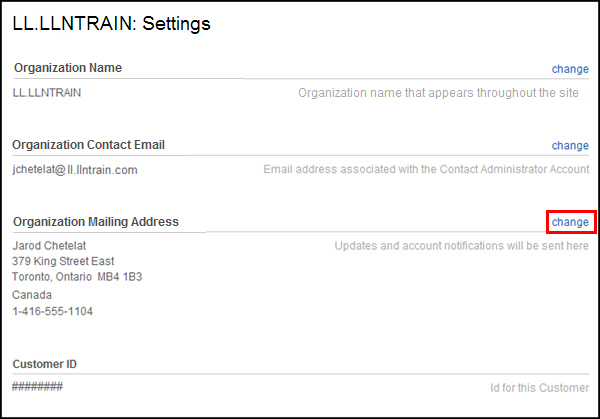
Click the change link that is on the row of the setting that you would like to change.
5
Make the desired changes, and then click the Save Changes button.
Make the desired changes and then click the Save Changes button.
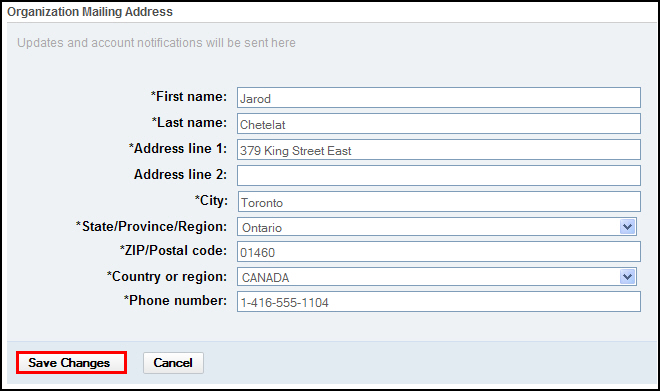
Note: Your changes will not be saved if the changes that you made fail to meet the validation criteria for the field.
If your changes do not pass the validation criteria, you will receive an error such as: Please enter a valid postal code.
6
If you receive a validation prompt, make the necessary changes to the information, and then click Save Changes again.
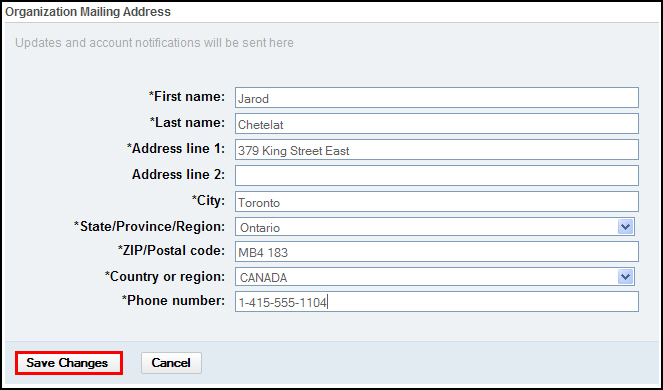
Make the necessary changes and then click the Save Changes button.
7
When your changes are saved, the updated information will display on the Settings page.