Procedure
Step | Action |
|---|---|
| 1 | Log in and navigate to the Administration panel. For detailed steps, see the procedure document: Accessing the Administration Panel. |
| 2 | From the navigation pane, click iNotes. |
| 3 | You will be prompted to verify the ownership of the domain
that you will be using for your iNotes users.
Enter the domain, and click Next.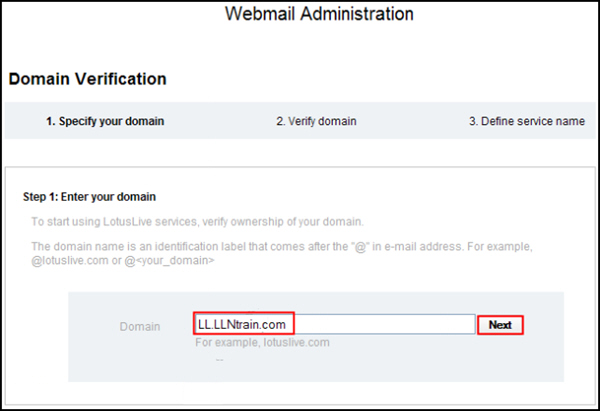 |
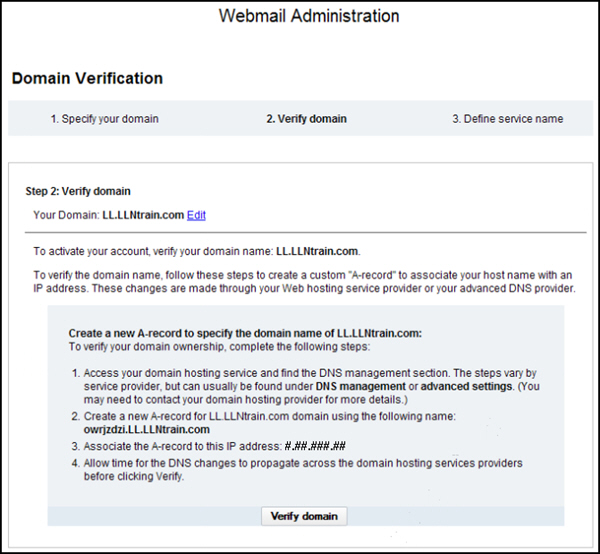
| 4 | Confirm that the domain that you entered is correct. Follow
the steps on the page to create a new A-record for your iNotes domain in your domain hosting service. Note: This step takes place outside of SmartCloud iNotes using the administration tool for your
domain hosting service.
 |
| 5 | After you have allowed time for the DNS changes to propagate
across the domain hosting service provider, click Verify
domain.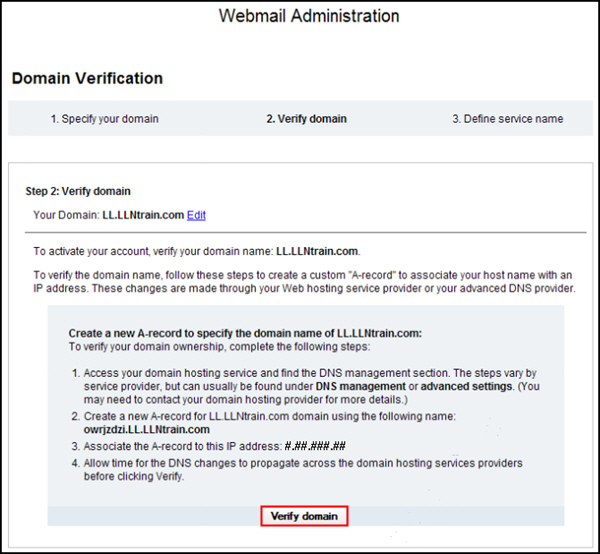 |
| 6 | If the domain verification is not successful, confirm that
the settings you entered are correct, and that you created an A-record
with your SmartCloud iNotes domain
with your domain hosting service. If all settings are correct, the
DNS changes may not have propagated across the domain hosting services
providers. Wait for these changes to propagate, and then click Verify
domain.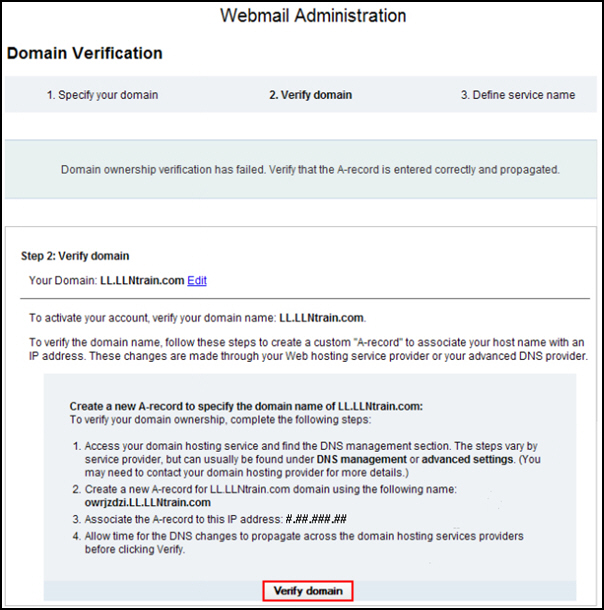 If domain verification continues to fail, contact your domain hosting service to confirm that the A-record was created successfully and has propagated across the domain. |
| 7 | After the domain is successfully verified, you will be
taken to the Define service name page. Click the Edit link to make changes to the prefix for the server URLs used for IMAP, POP, SMTP, and LDAP access to your SmartCloud iNotes company. After
those changes are complete, or if you do not want to make any changes
to the prefixes, click Done.
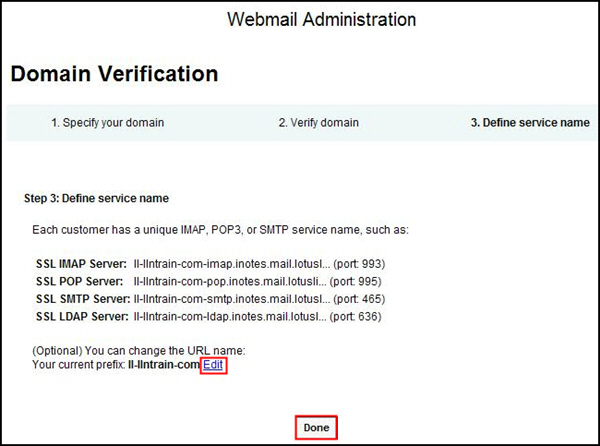 Important: The prefixes for the server URLs cannot
be changed after you complete the verification of your iNotes domain.
|