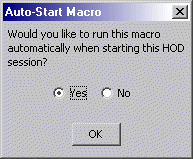

In this step, you will create the component that ties the whole logon automation process together — the login macro. You record this during an active session. At this point, you are still using the Deployment Wizard tool (continued from Step 7).
|
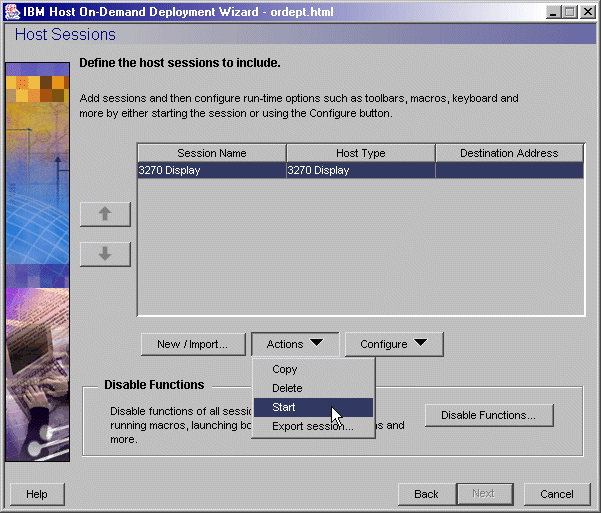
If you have already created your HTML file and now wish to record the login macro, open the Host On-Demand desktop, right-click the session icon, and select Start. Skip to Step B. |
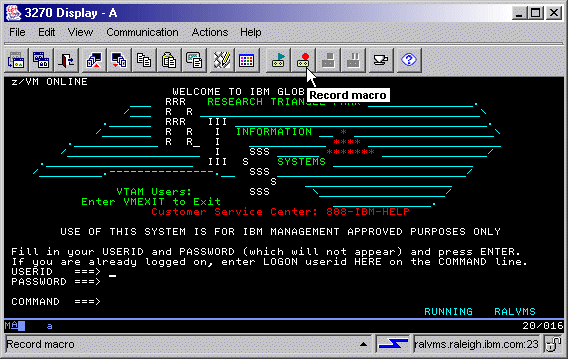
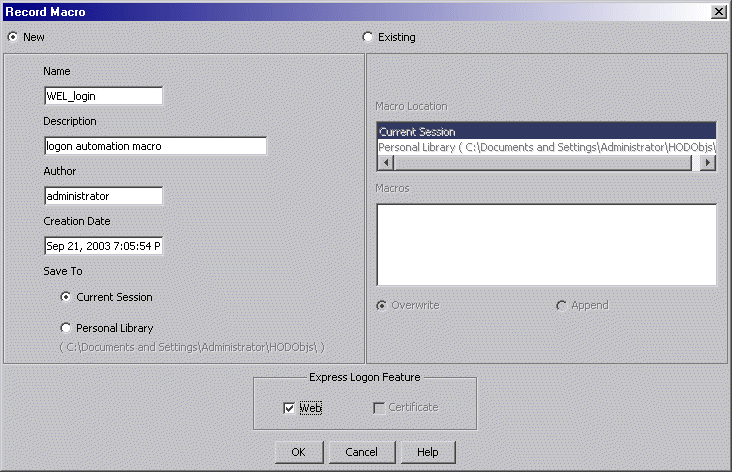
To record the macro, take the following steps:
|
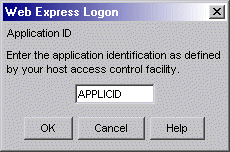
This name must match the RACF PTKTDATA (Passticket Data Profile) application name that is configured on the z/OS host. This name could be the same as the application name that the user is logging on to (for example, the name on USSMSG10). When creating PTKTDATA profiles for applications such as TSO (time sharing option), the application name portion of the profile will most likely not be the same. For example, RACF requires that the application ID portion of the profile name be TSO+SID. Refer to the RACF Security Administrator's Guide to determine the correct profile naming. You can obtain this ID from the host administrator. |
|
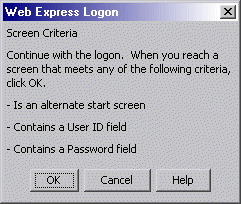
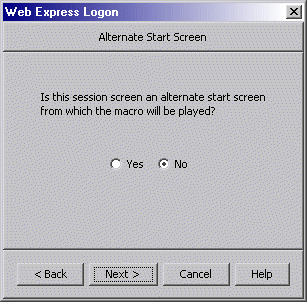
The alternate start screen is a screen from which the user might want to play the macro to log on to the application. If the application has more than one possible start screen, you should identify it during the recording process so that the macro can be played from that screen. For example, the logon process might begin from the USSMSG10 screen or the application logon screen. You may start the logon macro from either the start screen or the alternate start screen. You can designate only one screen as an alternate start screen. There is no alternate start screen after the screen that contains the user ID. |
|
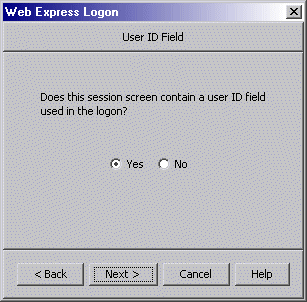
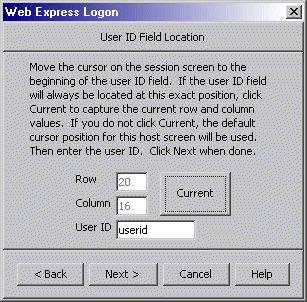
Click Current only if you will not be using this screen for multiple applications and the location of the user ID field never changes. |
|
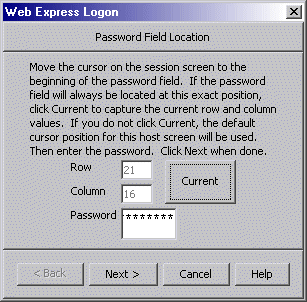
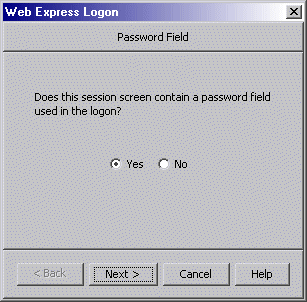
Click Current only if you will not be using this screen for multiple applications and the location of the password field never changes. |
