


|
|
This section explains how to set up a ClearCase Web client on Windows.
Install one or more of the supported client applications on your client computers:
FrontPage 98
FrontPage 2000
Visual InterDev 6.0
Internet Explorer 5.0
Office 2000
Using FrontPage 98, FrontPage 2000, or Visual InterDev 6.0, you can add a new Web to source control on the IIS server.
When you add a new Web to source control, the integration expects the Web to be a top-level Web, for example, http://<cc Web server>/<Web to be placed under source control>.
Create a new Web. Click File > New > FrontPage Web and complete the New FrontPage Web Wizard.
Add the new Web to source control by clicking Tools > Web Settings. In the FrontPage Web Settings dialog box, click the Configuration tab and complete the Source Control Project box, using the name of your new Web in Step #1.
The Web name in the Source Control Project box must start with $/. For example, if you created a Web at http://ccWebs/sales_collateral, the Source Control Project name must be $/sales_collateral. The Web name may be different from the actual Web directory. You must use the Web directory as the Source Control Project name.
Install ClearCase LT on your client computer.
Run the Web Authoring Integration Configuration Wizard.
For ClearCase LT Client, click Start > Rational ClearCase LT Client > Integrations > Web Authoring Integration Configuration.
For ClearCase LT Server, click Start > Rational ClearCase LT Server > Integrations > Web Authoring Integration Configuration.
From the Web Authoring Integration Configuration Wizard, select Local Mode Configuration.
In FrontPage 2000, create a new Web. Click File > New > Web and complete the New dialog box.
Click ClearCase > Add Web to source control to add the new Web to source control.
To use Visual InterDev 6.0 with the ClearCase integration, you do not need to install ClearCase LT on the client computer. If ClearCase is installed on the client, the online help for the Visual InterDev integration is enabled.
Click File > New Project to create a new Web project.
Select the project from the Visual InterDev Project Explorer and click Project > Source Control > Add to Source Control to open the Initial Solution Add dialog box.
To open the Enable Source Control dialog box, click Selection.
In the Source control project name box, delete the _Web suffix from the default text. For example, if the Web project is named stock_trading the default text is $/stock_trading_Web and the correct project name is $/stock_trading.
Click OK. The project is now added to source control on the IIS server.
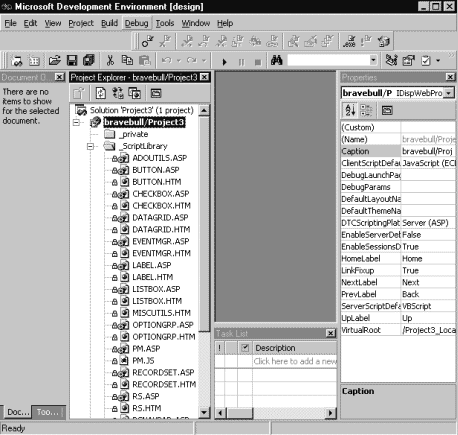
After you add a new Web to source control in FrontPage 98, FrontPage 2000, or Visual InterDev 6.0, look for the special source control icons that indicate successful completion. In FrontPage, these icons are green dots (Figure 34); in Visual InterDev, they are locks (Figure 35).
Figure 34 FrontPage Source Control Icons
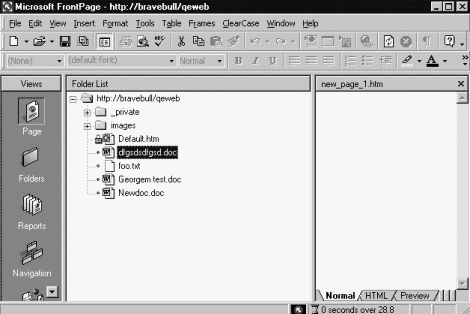
Figure 35 Visual InterDev Source Control Icons
If no source control icons appear in FrontPage or Visual InterDev, or if there are errors or other unexpected results during these procedures, the integration DLL maintains a log file at ccase-home-dir\var\log\ssapi_log that you can inspect to diagnose the error.
If you have existing content in flat files or on another Web server, you can also use the import features of FrontPage and Visual InterDev to pull additional content into your new Web and place it under source control.
FPSE maintain access control for Web authoring and administrative actions. To edit Web content, a user or group must have Author permission for the Web. Add all users and/or groups that need access to your Web content.
Click File > Open FrontPage Web to access the new Web.
Click Tools > Permissions. In the Permissions dialog box, click the Users tab or Groups tab to add user or group permissions.
Click File > Open Web to access the new Web.
Click Tools > Security > Permissions. In the Permissions dialog box, click the Users tab or Groups tab to add user or group permissions.
Click File > Open Project to access the new Web.
Click Project > Web Project > Web Permissions. In the Permissions dialog box, click the Users tab or Groups tab to add user or group permissions.
In addition, ensure that you add any appropriate domain groups to the content VOB's group list. Values of CLEARCASE_PRIMARY_GROUP on client machines are not translated on the server end, so you need to add all groups at this time.
Every time an integration user opens a source control enabled Web, that user takes a ClearCase LT license.
The integration supports two modes: server mode and local mode. Server mode operation is available on all the supported authoring tools. In server mode, the authoring tool runs locally, and all ClearCase operations run remotely on the ClearCase Web server. Webs are opened by accessing a URL. You do not need to install ClearCase on the client system, but doing so provides the user with online help, as well as a limited ClearCase menu in FrontPage 2000 and a ClearCase toolbar in Visual InterDev.
Server mode operation provides access to a limited set of ClearCase features. When running in server mode, the interface to ClearCase resembles the interface between FrontPage or Visual InterDev and Microsoft Visual SourceSafe. All users share a single snapshot view on the Web server.
Local mode operation is supported only for FrontPage 2000; ClearCase must be installed on the same computer that is running FrontPage 2000. Local mode operation provides extra functionality, including a ClearCase menu that is available on the FrontPage 2000 GUI. Webs are opened by accessing a pathname (a disk-based Web) for a Web located in the user's own snapshot view. Multiple views and full access to ClearCase GUIs are available using local mode. Checkouts performed in local mode are unreserved by default.
To configure local mode for FrontPage 2000:
Install FrontPage 2000.
Install ClearCase LT.
Run Web Authoring Integration Configuration Wizard.
For ClearCase LT Client, click Start > Rational ClearCase LT Client > Integrations > Web Authoring Integration Configuration.
For ClearCase LT Server, click Start > Rational ClearCase LT Server > Integrations > Web Authoring Integration Configuration.
From the Web Authoring Integration Configuration Wizard, select Local Mode Configuration.
In FrontPage 2000, click ClearCase > Create Snapshot View and complete the View Creation Wizard.
If you access Webs with FrontPage borders, you must reapply them in a local-mode view. We recommend not using FrontPage themes unless only server-mode access is used. Theme binding information is not stored under source control; reapplication of themes is time consuming, and many extra versions of essentially identical files are checked in.
Use of local mode requires any server-mode users to update the shared view periodically. If there are no local-mode users (or other write activity to the Web content VOB), updating the shared view is not necessary. You can mix and match local and server mode access in your installation.
|
|
Feedback on the documentation in this site? We welcome any comments!
Copyright © 2001 by Rational Software Corporation. All rights reserved. |