
Administering Satellites Guide and Reference
To install DB2 Satellite Edition, perform the following
steps:
Step 1.
| On Windows NT, log on to the system with the user account that you created
to perform the installation.
|
Step 2.
| Stop any other programs, including all DB2 services and Netfinity service
programs, so that the setup program can update files as required.
|
Step 3.
| Insert the CD-ROM into the drive. The auto-run feature
automatically starts the setup program. The setup program will
determine the system language, and launch the setup program for that
language.
| Note: | To manually invoke the setup program, perform the following steps:
- Click Start and select Run.
- In the Open field, enter the following command:
x:\setup /i language
where:
- x: represents your CD-ROM drive
- language represents the country code for your language (for
example, EN for English). For more information about country codes, see
Code Page and Language Support.
- Click on OK.
|
|
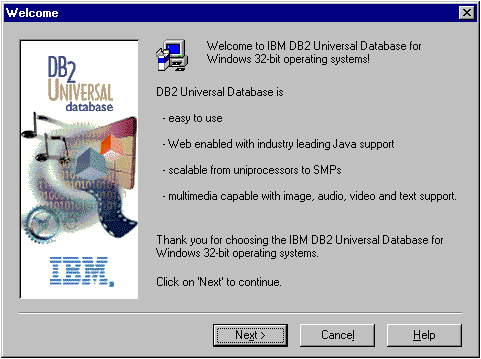
Step 4.
| The Welcome window opens.
|
Step 5.
| Respond to the setup program's prompts. Online help is
available to guide you through the remaining steps. Invoke the online
help by clicking on Help or pressing F1 at any
time. You can click on Cancel at any time to end the
installation.
|
| Note: | For information on errors encountered during installation, see the
db2.log file. The db2.log file stores general information
and error messages resulting from the install and uninstall activities.
By default, the db2.log file is located in the x:\db2log
directory, where x: represents the drive on which your operating system
is installed.
For more information, see Installation Problems.
|
Based on your component selections, the installation program has:
- Created DB2 program groups and items (or shortcuts).
- Created the following services on Windows NT: DB2 JDBC Applet
Server, DB2 Security Server, DB2 Remote Command Service.
| Note: | These services are created if you are performing the installation using a
user account without administration authority.
|
- Updated the Windows registry (Windows NT only).
- Created a default instance named DB2.
On Windows NT, the DB2 instance is added as a service if the installation
is performed by a user with local administration authority. If you
selected Automatically start the DB2 instance at boot time, the
service's start-up type is set to Automatic; otherwise,
it is set to Manual.
On Windows 9x, if you selected Automatically start the DB2 instance at
boot time, the db2start command is added to the
Startup folder.
After performing an interactive install, when you reboot the satellite, the
DB2 Synchronizer application is automatically started in test mode.
In test mode, you can use the db2sync -t command to perform the
following tasks:
- Catalog the DB2 control server (DB2CTLSV) and its satellite control
database (SATCTLDB).
- If you did not specify a user ID and password for connection to the
SATCTLDB database during the installation, specify them now. For
information on group authentication credentials, see Tables and Authorizations.
| Note: | Before you enter the db2sync -t command, you must set up the
DB2 control server by defining this specific satellite and an application
version to a group.
|
You can run the DB2 Synchronizer application in test mode at any time by
entering the following command:
db2sync -t
For more information on the db2sync command, see Running a Test Synchronization and db2sync - Start DB2 Synchronizer.
| Note: | If the satellite is remote to the DB2 control server, or is running a
different version of DB2, or runs a different operating system, you need to
bind the database utilities on the satellite, including the DB2 CLI, to the
SATCTLDB database on the DB2 control server. This binding task only
needs to be performed once, it does not need to be performed from every
satellite. See Binding Utilities for details.
|
[ Top of Page | Previous Page | Next Page | Table of Contents | Index ]
[ Top of Page ]