Step 1.
Log on to the system with the user account that you created to perform the installation.
Step 2.
Shut down any other programs so that the setup program can update files as required.
Step 3.
Insert the CD-ROM into the drive. The auto-run feature
automatically starts the setup program. The setup program will
determine the system language, and launch the setup program for that
language. If you want to run the setup program in a different language,
or the setup program failed to auto-start, see the tip that follows.
 | To manually invoke the setup program, perform the following steps:
|
Step 4.
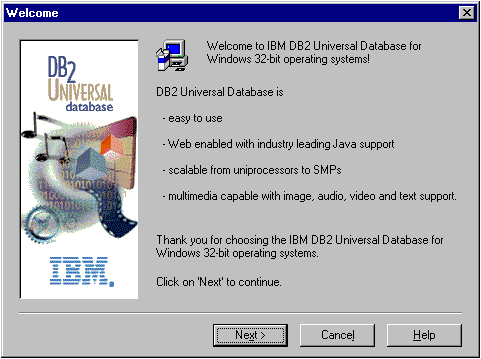
The Welcome window opens.

Step 5.
Respond to the setup program's prompts. Online help is
available to guide you through the remaining steps. Invoke the online
help by clicking on the Help push button or pressing the
F1 key at any time. You can click on the Cancel
push button at any time to end the installation.
 | The next step applies only if you are using Microsoft SNA Server for Windows NT as your communication product. If you are using another communications product, such as IBM eNetwork Communications Server for Windows NT, skip the next step. |
Step 6.
After your workstation has rebooted, check that the network adapter is bound to the DLC communications subsystem by completing the following steps:
- Click on Start and select Settings->Control Panel.
- Double-click on the Network icon.
- In the Network window, select the Bindings tab.
- Select All Adapters from the Show bindings for drop-down box.
- Double-click on the adapter for which you want to see the bounded protocols
- Ensure that DLC is enabled. If it is not, click on the Enable push button to enable the bind the network adapter to the communications subsystem.
